Most preparedness advice assumes a garage shelf, a basement, or a spare closet. In 600 square feet you have none of these, and the usual checklist of a 50-pound water stockpile and a rack of canned goods does not fit. The need for a plan is the same as anywhere else. What changes is how you store things, how far you have to carry them, and how many other households share your walls and stairwell.
This guide works through disaster preparedness for a small apartment in the order the decisions depend on each other: stay or go, water and food, one grab bag, hidden storage, light and information, neighbours, and a weekend setup you can finish in about two hours.
Why a small apartment changes the plan, not the need
A small home limits three things: how much you can store, how much you can carry, and how much you control. You do not control the building’s power, water pressure, elevators, or stairwell. You do control what is inside your door.
That makes the plan smaller and more selective. You cannot hold a month of supplies, so you choose a few days of the essentials and make them easy to reach. You will probably be carrying things down several flights, so weight matters more than it would in a house. And because your building is shared, some of your planning belongs outside your apartment, with neighbours and building management.
Small spaces have one advantage: everything is close. Nothing you own is more than a few steps away, so a well-organised apartment can be gathered quickly.
Decide first: stay in place or leave, and what that means on your floor
Every other choice depends on this one, so make it before you buy anything. Different disasters point in different directions, and your floor changes the answer.
Staying put usually makes sense for things like a multi-day power outage, a winter storm, or a water service interruption. In those cases your apartment is probably the safest and most comfortable place to be, and your plan is mostly about water, food, light, and warmth or cooling.
Leaving makes sense for a fire in the building, a gas leak, structural damage, or an evacuation order. Here the plan is about getting out quickly with the right items.
Your floor shapes both:
- High-rise: Elevators may stop working, and you should not use them in a fire or after an earthquake. Walk the stairs once, count the flights, and time yourself with a bag on your back. Know where both stairwells are, not just the one nearest your door.
- Walk-up: Stairs are easier to rely on, but every litre of water you bring back up is carried by hand. This favours storing water before you need it over planning to fetch it later.
- Any floor: Find out from building management where the gas and water shutoffs are and who is allowed to operate them. Do not experiment with them yourself.
Write your two decisions on a card and tape it inside a cabinet: when I stay, and when I leave. When something goes wrong you will want to read the answer, not work it out.
Water and food in a space with no pantry
Water is the item that takes the most room, so start there. Emergency agencies commonly recommend about one gallon (roughly four litres) per person per day for drinking and basic hygiene, with a minimum of three days. For one person that is around twelve litres. For two, around twenty-four.
You do not need a dedicated shelf. Water can live in several small places at once:
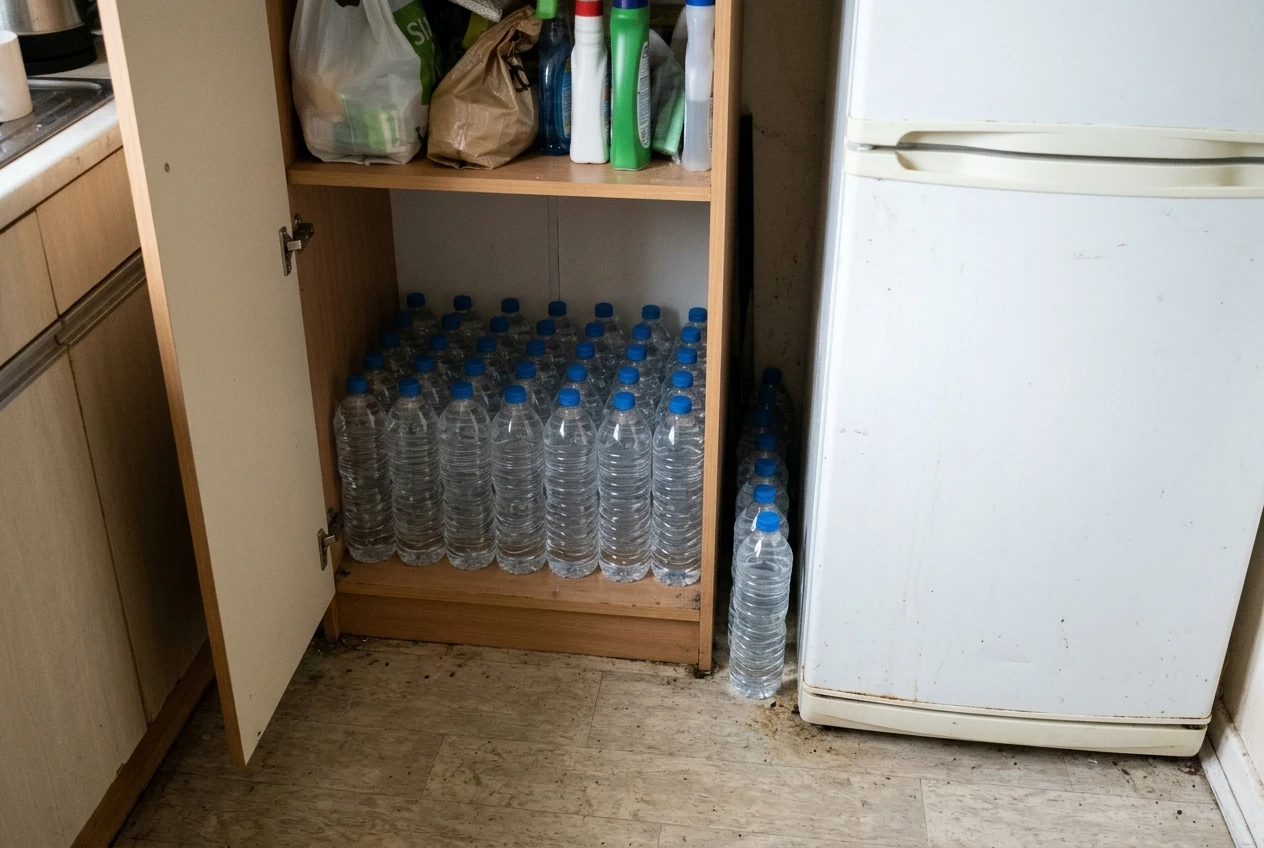
- Sealed commercial bottles or cartons along the bottom of a wardrobe, where weight is not a problem.
- Narrow containers stacked in the gap between the fridge and the wall, if the gap is clear of heat vents.
- A row of bottles under the bathroom sink, behind the plumbing.
- Containers under the bed, laid flat in long, low storage bins.
Small containers cost more per litre than large ones, but they are easier to carry up stairs, easier to pour without spilling, and can be split between your grab bag and your shelf. Check the date printed on commercial bottles and swap them out as it approaches.
Food follows the same logic. Choose things that need no cooking, no refrigeration, and little water: ready-to-eat tinned meals with pull-tab lids, nut butters, crackers, dried fruit, nuts, and bars. Buy what you already eat, because food you dislike gets ignored and expires. A shoebox-sized container per person holds enough for a few days if you pick compact items.
Include a manual can opener unless every item has a pull tab. A small one takes no room and removes a common failure.
If you want to see how this site approaches small-space planning in general, the About Survive the Storms page explains who it is written for.
One grab bag you can carry down the stairs
A grab bag is for leaving. The test is simple: can you carry it down all your flights without stopping, with your other hand free for a railing, a pet carrier, or another person?
Choose a backpack over a duffel. Keep it by the front door or inside the nearest closet, not at the back of a shelf. Pack for roughly a day or two of getting somewhere safe, not for weeks of survival.
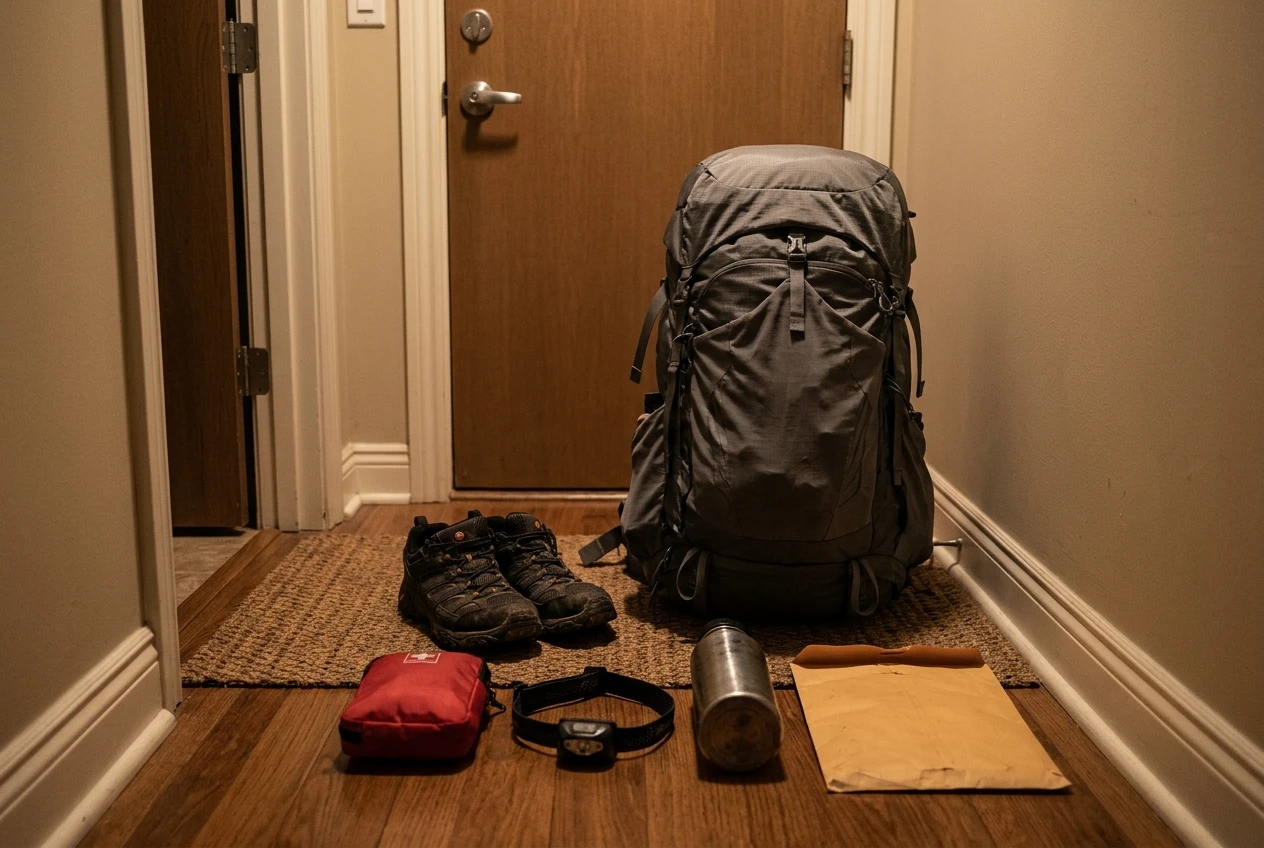
What belongs in it:
- Water, enough for a day, plus a way to carry more if you can fill it later.
- A few bars or other ready-to-eat food.
- A flashlight or headlamp, with spare batteries stored separately or the switch locked so it cannot turn on in the bag.
- A basic first aid kit and a week of any prescription medication you take.
- Copies of ID, insurance details, and key phone numbers on paper, plus a spare set of keys.
- A phone charging cable and a small battery pack, kept charged.
- Some cash in small bills.
- A whistle, a dust mask, and a pair of sturdy gloves.
- A change of socks and a light layer for the season.
Keep a pair of closed-toe shoes beside the bed. Broken glass and debris are most likely to hurt you in the first minutes, and bare feet in a stairwell make a hard situation worse.
Rebuild the bag twice a year, when the clocks change if that is easy to remember, so batteries, medication, and food are current.
Finding storage you didn’t know you had
Look at your apartment as volume rather than as furniture. Four places usually hold more than people expect.
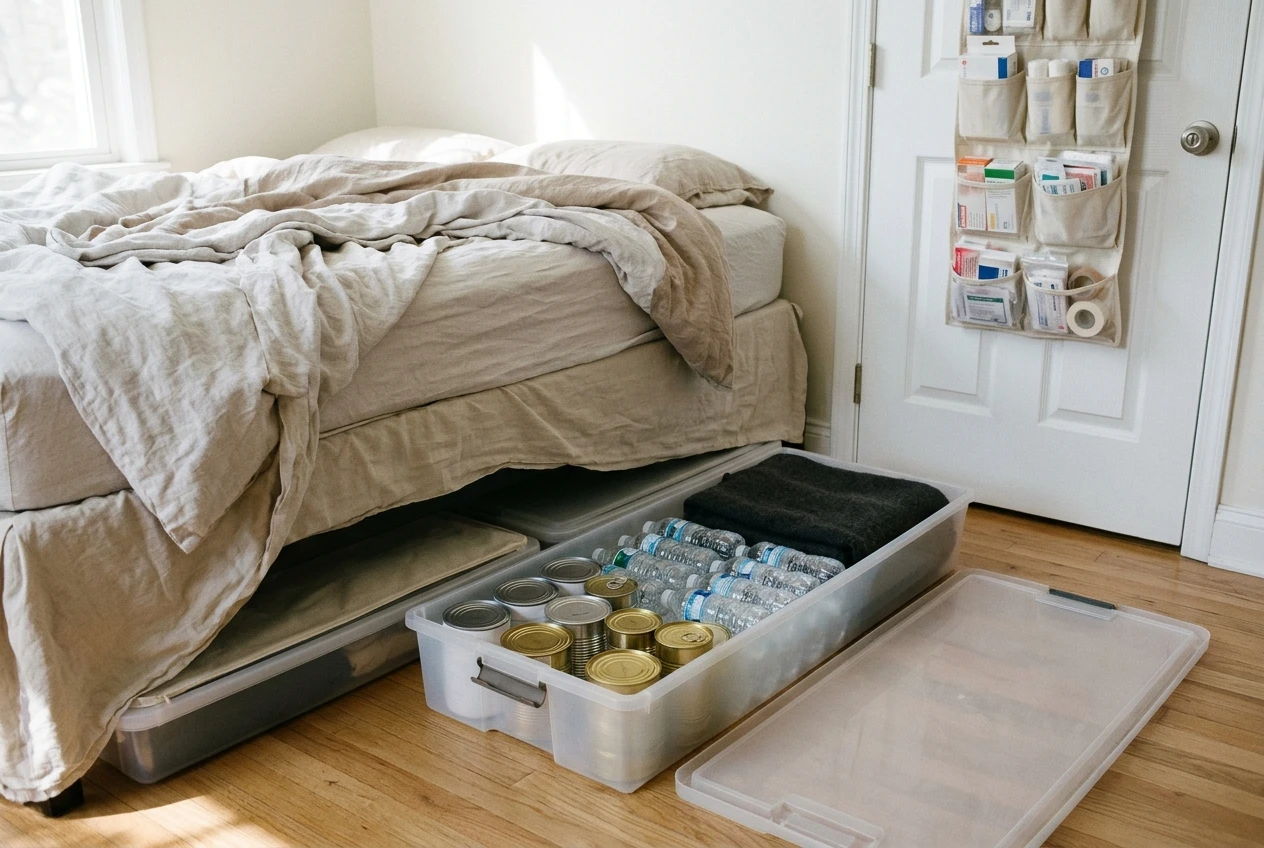
Under the bed. A bed with a few inches of clearance fits flat containers. Use it for water, tinned food, and bulky items you do not need daily. If the bed sits low, bed risers are inexpensive and add a surprising amount of room.
Behind the door. The gap behind an open door fits a narrow shelf or an over-the-door organiser. Put light, flat things there: first aid supplies, gloves, masks, a radio.
Above the cabinets. The space between kitchen cabinets and the ceiling is often empty. Lightweight items such as blankets, spare clothes, and extra batteries in a sealed container fit well. Keep heavy things lower, because anything stored high can fall in an earthquake.
Inside things you already own. A suitcase under the bed can hold supplies, and a storage ottoman, sofa base, or wardrobe floor can hold more. Label everything on the outside so you can find it in the dark.
A practical rule: heavy items low, light items high, and the things you need first nearest the door. Keep one shelf or bin as the single home for emergency supplies so you can check them quickly rather than hunting through the apartment.
Light, power and staying informed when the building goes quiet
When the power fails in an apartment building, everything stops at once: lights, elevators, internal corridors, and often the heating or cooling. Plan for the dark first.
Use flashlights and headlamps rather than candles. Candles are a fire risk in a small space with shared walls, and a fire in your unit is a fire in everyone’s. Keep one light in the bedroom, one in the kitchen, and one in the grab bag, so you never cross the apartment in the dark.
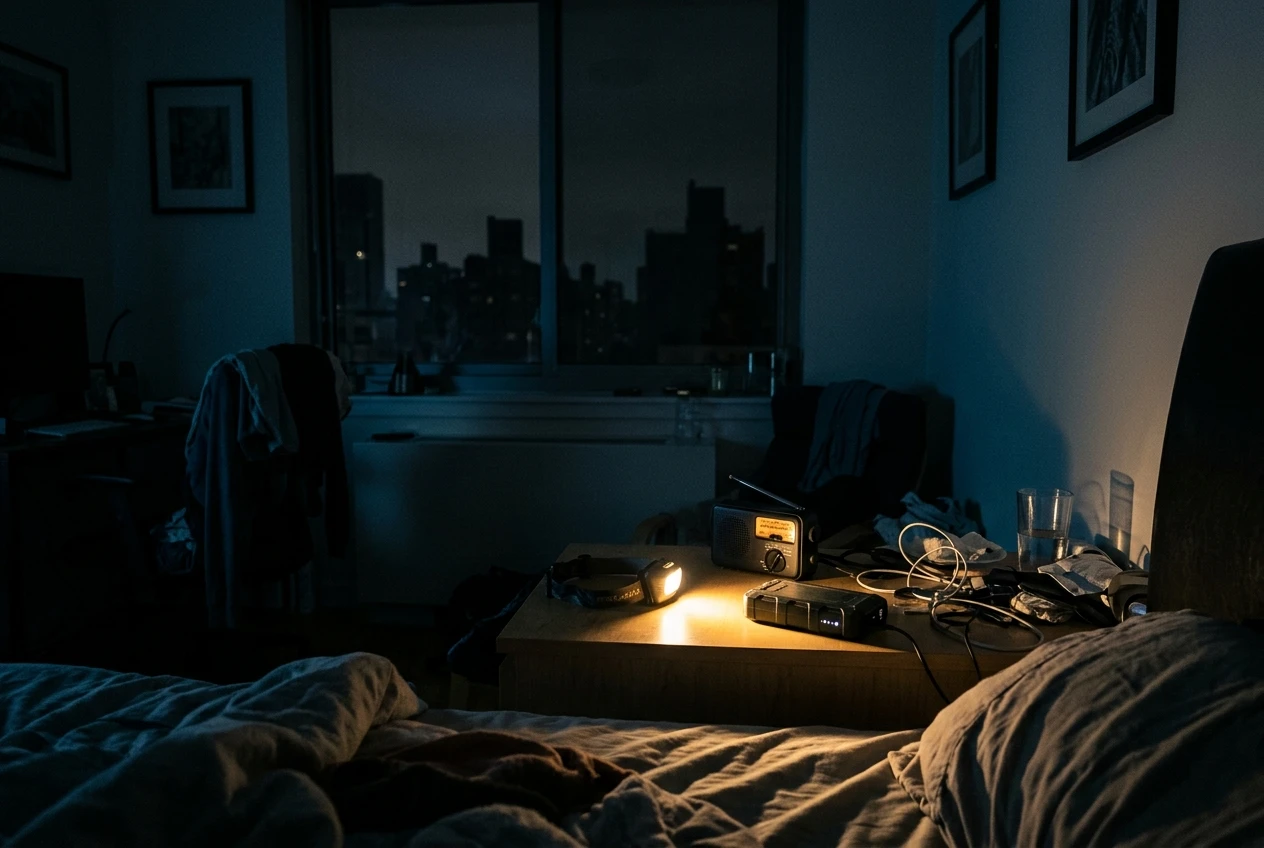
For information, a battery-powered or hand-crank radio works when phone networks are overloaded and cell service is poor. Phones also drain quickly under stress, so keep a charged battery pack and lower your screen brightness. Save local emergency contacts and your building manager’s number on paper as well as in your phone.
Never run a generator, camp stove, or charcoal grill indoors, and not on a balcony either. They produce carbon monoxide, which can travel through shared walls and vents. If you want a heat or cooking plan, ask first about what your building allows and use only equipment made for indoor use.
For heat, layers, a sleeping bag, and blankets go a long way in a small apartment because the space is easy to keep warm with body heat alone. For hot weather, plan for water, light clothing, and a cool spot such as the lowest floor or a shaded room.
Planning with neighbours and the building around you
In a house you can usually ignore the neighbours when you plan. In an apartment you cannot, since your safety partly depends on theirs.
Start small. Introduce yourself to the people on either side and across the hall. Swap phone numbers. Find out if anyone has medical needs, a mobility limitation, or a pet that may need help getting out, and tell them about yours if you are comfortable doing so.
Then ask questions about the building itself:
- Where are the stairwells and fire exits, and are they kept clear?
- Is there an emergency plan, an evacuation meeting point, or a designated floor warden?
- Is there a generator for common areas, and what does it power?
- Who has keys to the roof, the basement, and the utility rooms?
Agree on a meeting place outside the building with the people you live with, and a second one farther away in case the first is blocked. Choose an out-of-area contact whom everyone can message, because local calls can fail when long-distance texts still get through.
Neighbours can also share what no single apartment can hold. One household might keep a larger first aid kit, another a camp stove for use outdoors, another tools. Agreeing on this ahead of time costs nothing.
A two-hour weekend setup, in order
You can finish the core plan in a single weekend session. Here is the order that works, with rough timing.
- Decide stay or leave (10 minutes). Write the two-line card and tape it inside a cabinet.
- Walk your exits (15 minutes). Count flights, find both stairwells, and note the shutoff locations posted or confirmed with management.
- Pack the grab bag (30 minutes). Use what you already own where you can, then note what you still need.
- Set up water and food (25 minutes). Place containers in two or three of the hidden spots above and put a manual can opener with the food.
- Place lights and the radio (10 minutes). One light by the bed, one in the kitchen, the radio on your emergency shelf.
- Write contacts on paper (10 minutes). Include your out-of-area contact, building manager, and local services.
- Meet one neighbour (10 minutes). Knock, introduce yourself, and exchange numbers.
- Set a reminder (10 minutes). Put a recurring date in your calendar to check dates and batteries twice a year.
After that, add to the plan a little at a time: more water, a better light, a warmer blanket. A small apartment does not allow a large stockpile, but a short list of items placed where you can find them in the dark covers a lot.
Browse the compact emergency gear we recommend for small apartments, chosen to fit under a bed or in a single closet shelf.