
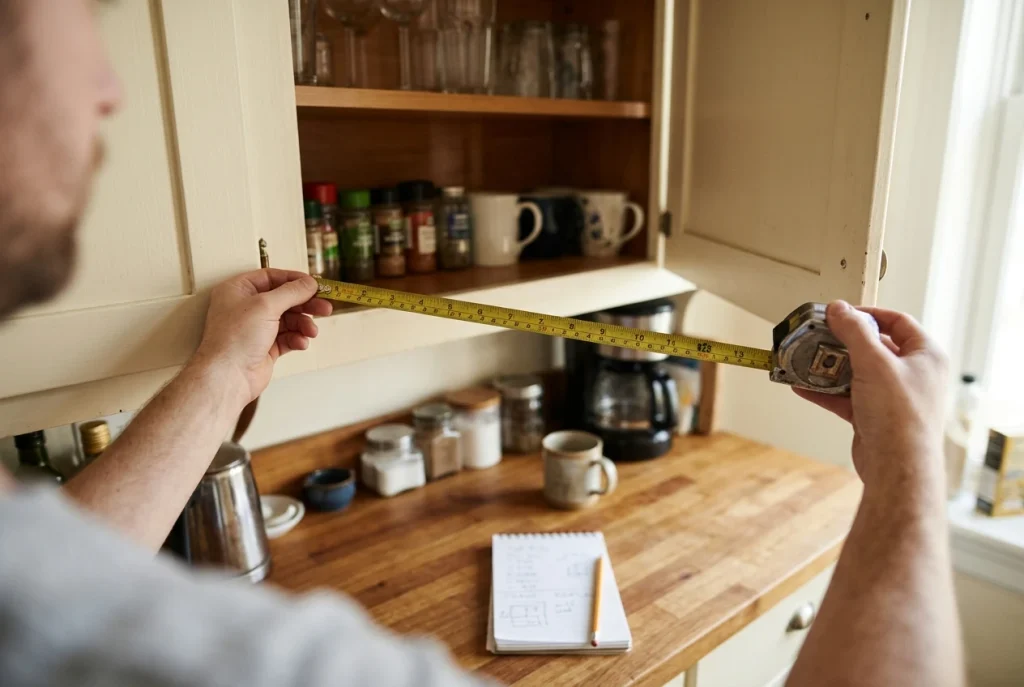
Most advice on building a two week emergency pantry for a small apartment starts with a shopping list. In a studio, that is the wrong place to start, because a list says nothing about where the food will go. Forty cans bought in one trip can end up on the counter, the floor and the end of the bed.
This article works in the other order. You find every place in the apartment that can hold food, work out how much each one takes, and then buy to fit. The result is 14 days of shelf-stable food that lives out of sight and leaves your counter free for cooking. For the non-food gear, there is a separate guide at the end. This one stays on food.
Start with the space, not the shopping list
Take a tape measure, a notepad and ten minutes. Walk the apartment and write down every spot that could hold a box or a stack of packs. For each one, record the width, depth and height, and note anything that limits it: a low shelf above, a radiator beside it, a door that swings into it.
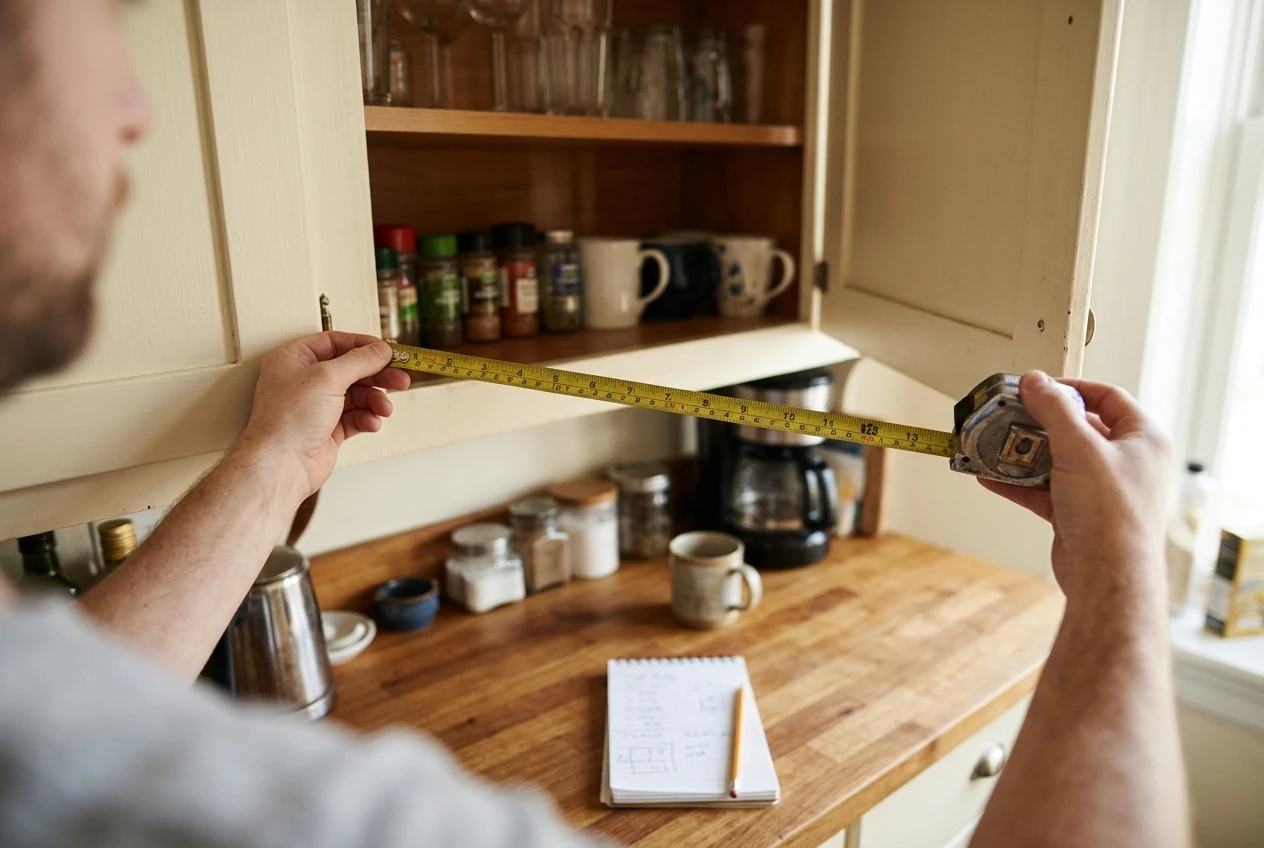
A studio usually gives you more spots than you expect:
- the main kitchen cupboards and any open shelves
- the cupboard under the sink, if it is dry
- the space under the bed
- the gap above the fridge and above the wardrobe
- the floor of the wardrobe or entry closet
- inside suitcases and duffel bags you rarely use
- the space under the sofa, if it has clearance
- the back of a door, where a hanging organiser can hold light items
Next, give each spot a rough grade. Dry, cool and easy to reach is the best grade. Warm, damp or awkward to reach is the worst. Food keeps best somewhere cool and dry, so a spot beside the oven, above a radiator or under a leaking pipe is out, however much room it offers.
Finally, write down what each spot can hold in plain terms: “two shoebox-sized containers”, “one row of cans, two deep”, “a flat tray about a hand high”. Those descriptions become your shopping brief. You are no longer buying “canned beans”, you are buying what fits a shelf that is two cans deep.
If you want the wider picture of preparing a home of this size, the guide on disaster preparedness when your whole apartment is 600 square feet covers it. Here, the focus stays on food.
Cupboards and shelves: what earns the prime spots
Your kitchen cupboards are the easiest spots to reach, so they should hold the food you will actually use. A pantry you never open is hard to keep in rotation. Put the items you cook with every week in the front, and let the emergency stock sit behind and beside them as part of the same system.
Good candidates for prime shelf space:
- Everyday staples that double as emergency food: rice, pasta, oats, lentils, canned beans and tinned tomatoes. You use them anyway, so they rotate on their own.
- Foods that need nothing but a can opener or a spoon: canned fish, canned fruit, ready-to-eat pouches and crackers. These matter most if cooking is not possible.
- Small, high-value items: salt, stock cubes, tea, instant coffee and spices. They take almost no room and make plain food easier to eat for two weeks.
Put the heavy, dense items on lower shelves. Cans and jars are heavy, and a high shelf in a rented kitchen is not always fixed well. Light items, such as packs of crackers, instant noodles, cereal and dried fruit, can go up high where you need a step stool to reach them. Those are the things you will not need on day one.
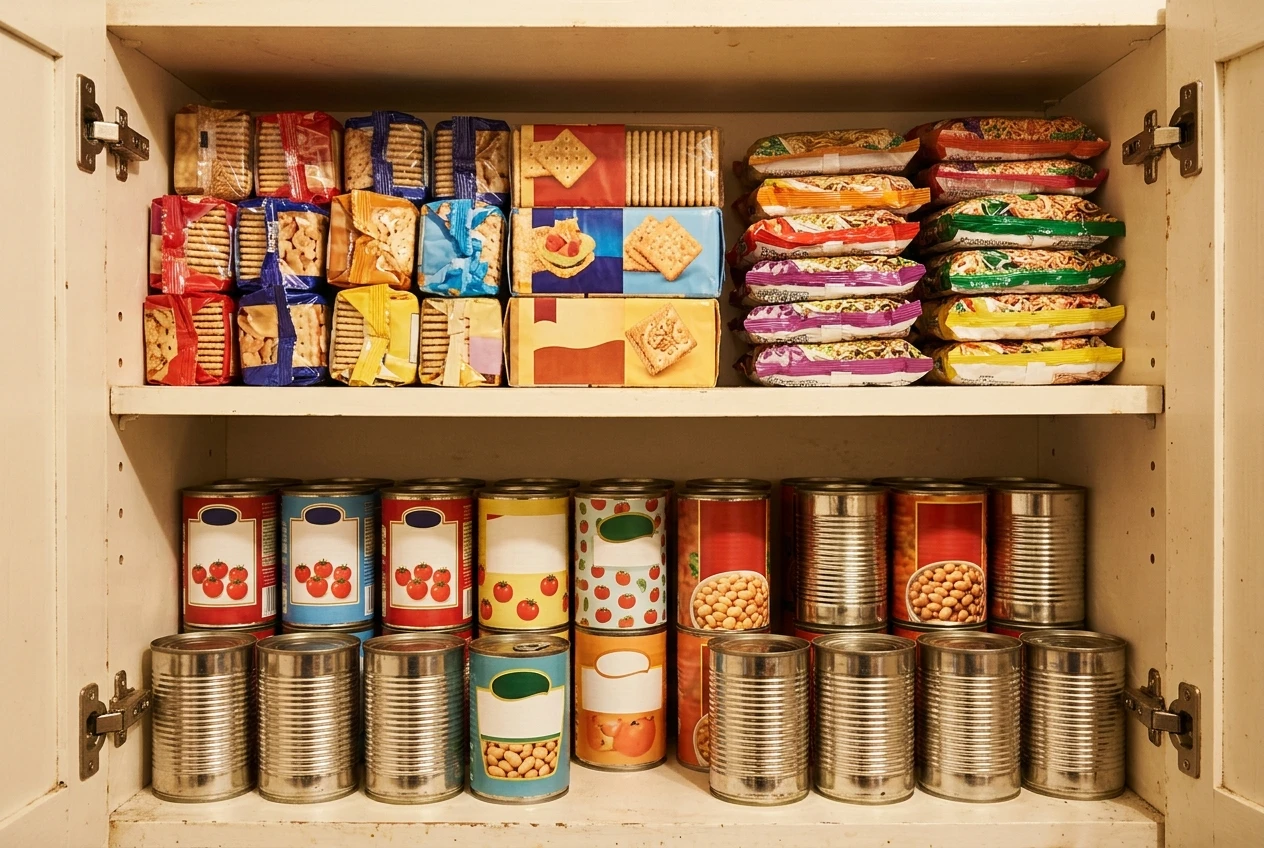
Use the depth of each shelf. If a cupboard is deep enough for two rows, the back row holds the emergency stock and the front row holds what you are eating now. A tension rod or a small step shelf inside the cupboard can lift the back row so you can see both.
Under the bed: storing food safely and keeping it findable
The under-bed space is often the largest unused volume in a studio, and it is a good fit for the bulkiest, least urgent food. Flat, lidded boxes about the height of the gap work best. Choose boxes with lids that close firmly, because dust and the occasional spill will get in otherwise.
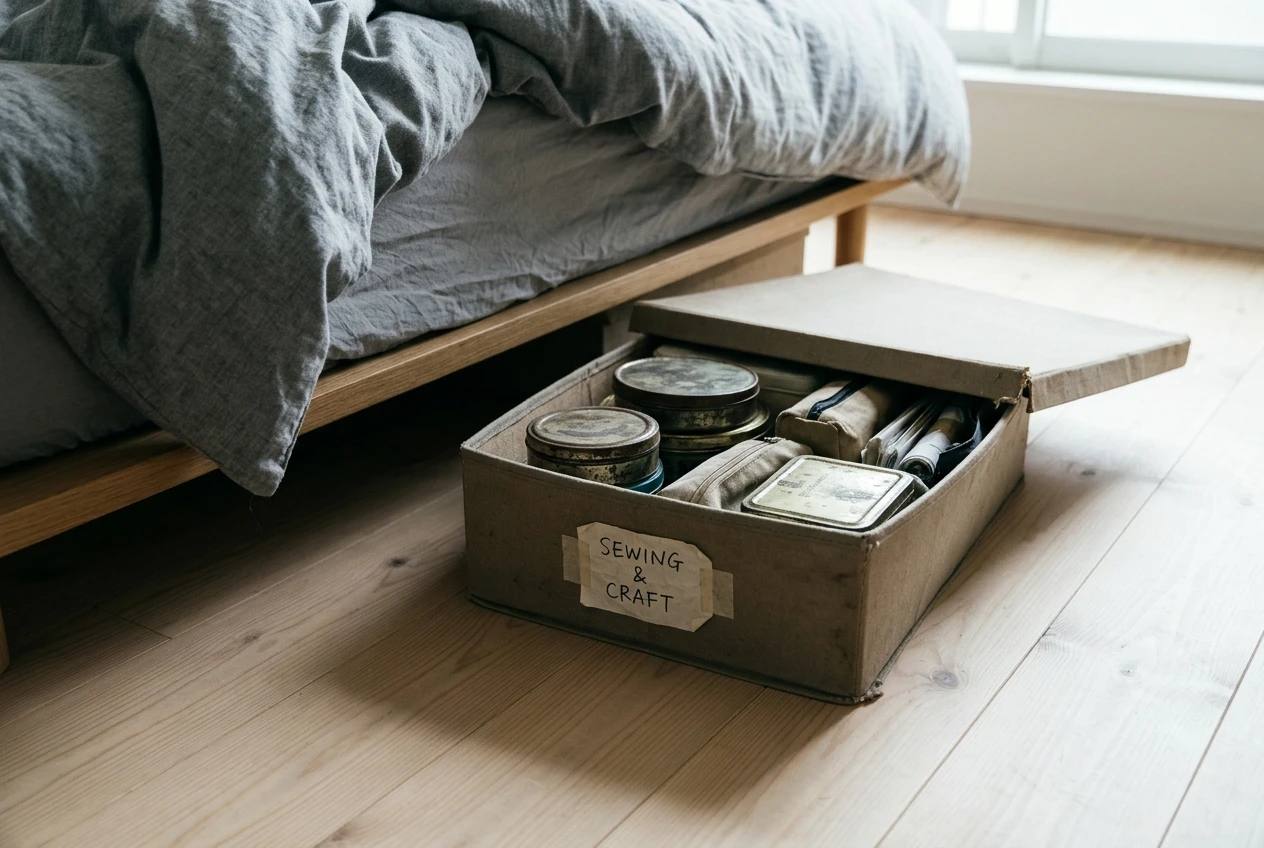
A few rules keep this space safe and useful:
- Check the clearance first. Measure from floor to the lowest part of the frame, then buy boxes a little shorter than that, so they slide in and out without catching.
- Keep weight spread out. A box of cans is heavy. Use several shallow boxes rather than one deep one, so you can pull them out without straining your back.
- Keep it dry. Floors near outside walls and windows can be damp or cold. Lift boxes off the floor on a thin board if you have any doubt, and check the boxes now and then for condensation.
- Keep it away from pests. Anything in paper or cardboard should go into a sealed container. Dry goods like rice, pasta and oats are best moved into lidded containers anyway.
- Label the ends. Put a label on the end of each box that faces you, listing what is inside and the earliest date on any pack. Then you can find what you need without dragging every box out.
Keep a short inventory on a card inside your kitchen cupboard, or on your phone, that says which box holds which food. In an emergency, or just on a tired evening, knowing that the pasta and sauce are in box three saves time.
Sleeping above your food is fine, but do not store anything in the way of the bed’s legs or in a place you would need to reach in a hurry, like a route to the door. Food is a slow-moving stock, so the far side of the bed works well.
Hidden gaps: behind doors, above the fridge, inside luggage and under the sofa
Once the main spaces are planned, the leftover gaps take care of the remainder.
Above the fridge. This space is useful for light, dry foods such as cereal, crackers and instant noodles. The top of a fridge can run warm, so feel it before you commit, and keep the more heat-sensitive foods elsewhere.
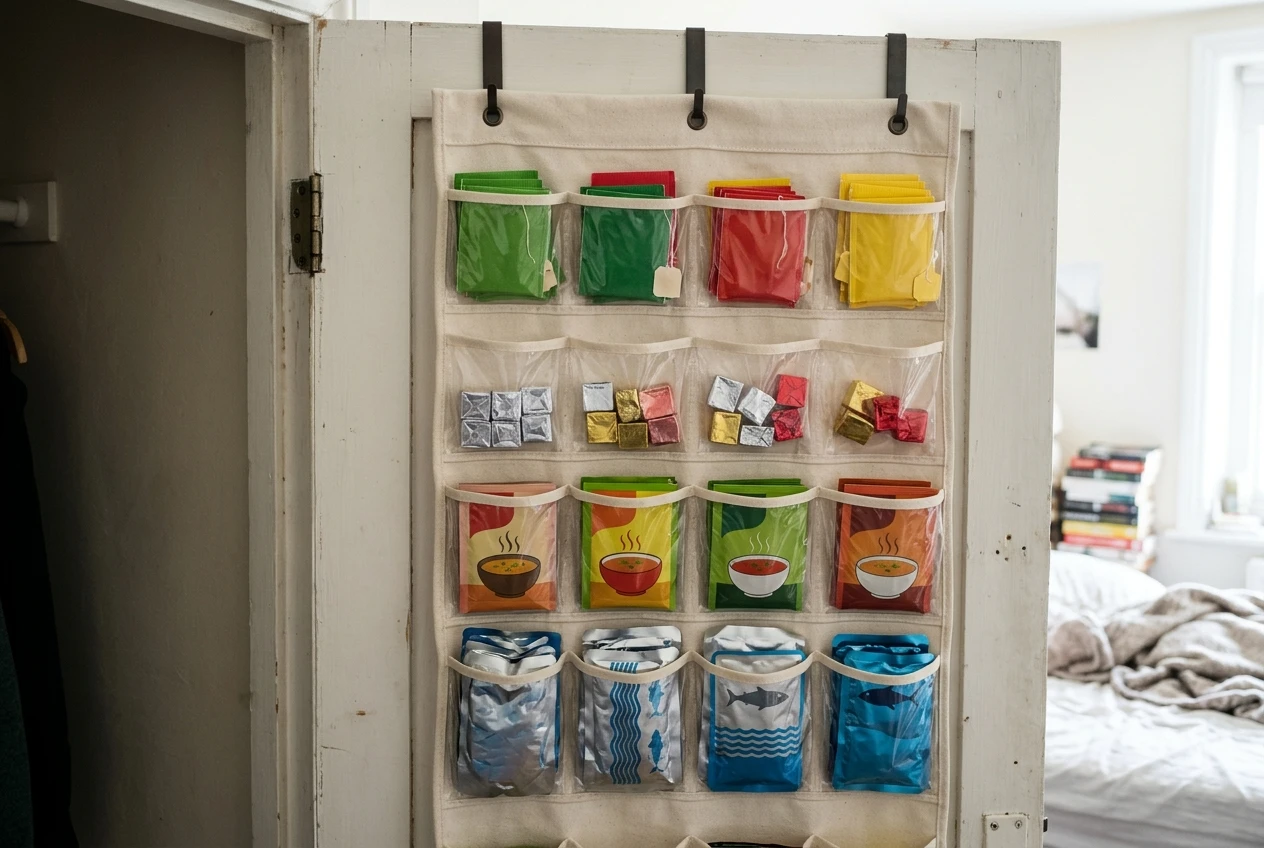
Behind doors. A hanging organiser on the back of a wardrobe or entry door holds small packs: tea bags, stock cubes, instant soup, sachets of oatmeal, tuna pouches. The pockets make each item visible, which makes rotation easier.
Inside luggage. A suitcase that only comes out for trips is a free storage box. Fill it with dry goods in sealed containers and tuck it on top of the wardrobe. One caution: if you need to leave in a hurry, the suitcase is also your bag. Keep a separate note of what is inside, and remember to unpack it before a trip.
Under the sofa. If the clearance is enough for a flat box, this is a good home for packs of crackers, biscuits or pouches. Keep it to light items, since sofas get moved and sat on.
The wardrobe floor. The area under hanging clothes is often wasted. A low crate or two can hold tins and jars, as long as the floor is dry.
Choosing compact shelf-stable food that stacks well and needs little water or cooking
With a space map in hand, shopping gets easier. You choose foods by how they fit and how much work they ask of you in an emergency.
Look for:
- Shapes that stack. Square or rectangular tins and flat pouches use space better than round jars and bulky bags.
- Dense calories for the volume. Nut butter, oats, rice, pasta, dried fruit and canned fish give you a lot of food for their size.
- Low water needs. Rice and pasta use water to cook, so balance them with foods that need none: canned beans, canned vegetables, crackers and ready-to-eat pouches. If water might be short, lean toward the ready-to-eat side. Check your local emergency management guidance for how much stored drinking water to plan per person, and treat that as separate from your food space.
- Foods you already like. Emergency food that you dislike gets left on the shelf. Buy things you will eat, in flavours you enjoy.
- Small packs. Without a fridge, an opened large pack may not keep. Smaller tins and pouches let you open only what you will finish.
Think about everyone in the home, too. Allergies, medication needs, baby food, pet food and dietary requirements all change the list. Build those in first, since they are the hardest to improvise later.
Planning 14 days of meals around one burner, a kettle or no power at all
Before you buy, sketch fourteen days in three cooking modes, because the power or gas might not be there.
One burner. Most studio cooking works fine on a single ring. Plan one-pot meals: rice with beans and tomatoes, pasta with canned fish, lentil stew, oatmeal for breakfast. Keep one pot with a lid, which saves fuel and water.
Kettle only. If you have a working kettle but no hob, hot water covers instant oats, instant noodles, couscous, instant mashed potato, tea and soup. Couscous and fine noodles are a good choice here because they soften with hot water and need no simmering.
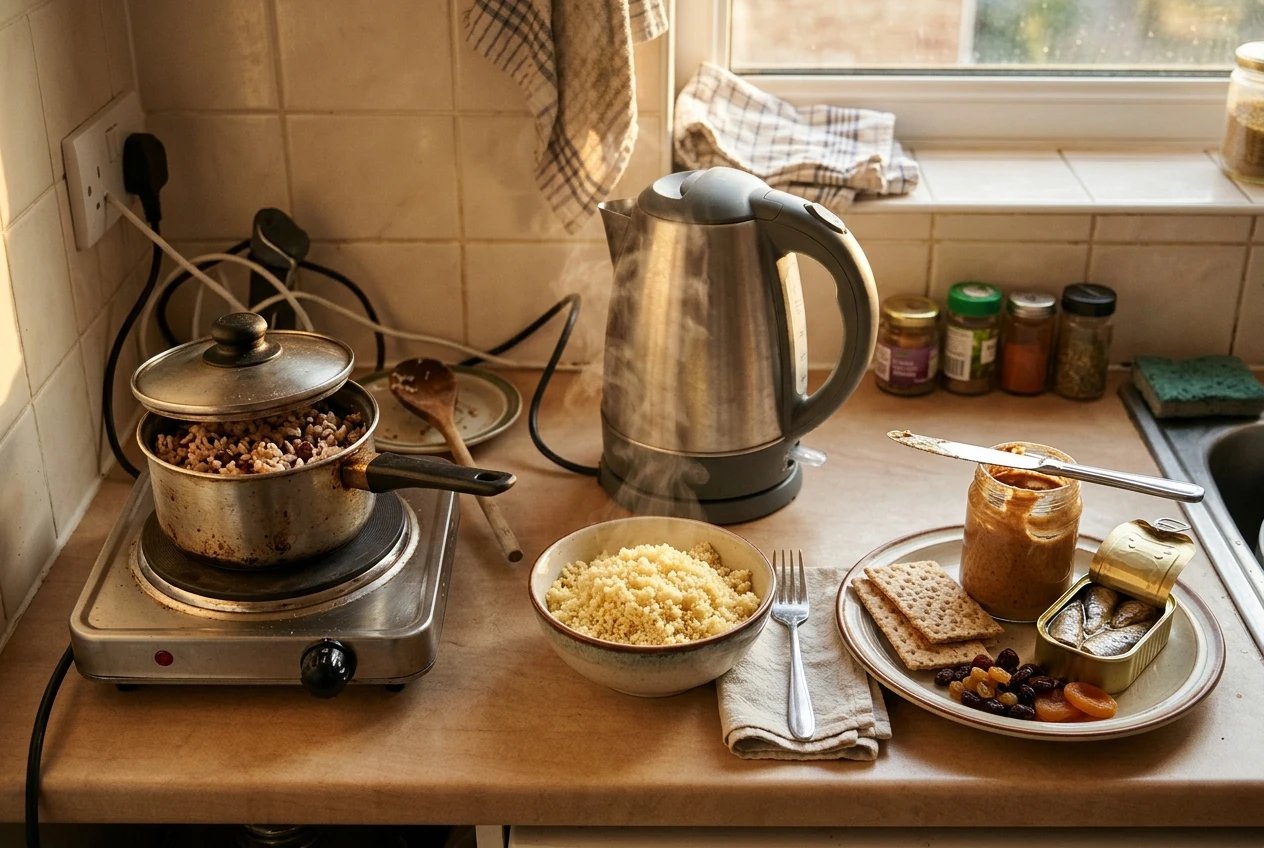
No power at all. Plan at least a few days of food that needs nothing: crackers with nut butter, canned fish, canned fruit, dried fruit, ready-to-eat beans, and cereal with shelf-stable milk. This is the part of your plan that should be tested hardest. Try one no-cook day before you need it, so you know what you find filling.
Write the plan as a simple table or list, one line per day, in each of the three modes. You do not need fourteen different recipes. Repeating a few meals is fine and reduces the number of different items you need to store, which also saves space. Count the meals, not the cans, and then buy exactly that.
Rotating the stock so nothing expires
A pantry that sits untouched for a year turns into a pile of expired food. A small kitchen needs a very simple rotation system.
- Write the date where you can see it. Use a marker on the lid or side of each tin and pack, showing the use-by date from the label. Dates on a pack are the source to trust, so read them and do not guess.
- First in, first out. When you add new food, place it behind the older food. Take from the front.
- Use it, then replace it. Eat from the emergency stock as part of normal cooking, and put the replacement on your next shopping list. Then the stock is always turning over.
- Keep an “eat soon” spot. A small box or one shelf section holds anything within a few months of its date. Cook from there first.
- Do a short check on a fixed day. Once every few months, such as when the clocks change, look through each box for dents, rust, swollen tins, broken seals or signs of pests. Throw away anything that looks wrong.
A card taped inside the cupboard door listing each item and its earliest date is enough. It takes a few minutes to update after a shop.
A one-weekend setup plan, then topping up a little each shop
You can set this up over a weekend without a large single purchase.
Saturday morning: Measure and grade your spaces, as above. Write down what each can hold. Clear out any old food while you are there.
Saturday afternoon: Draft your 14-day meal plan across the three cooking modes, count what you need, and check what you already own. Make a shopping list matched to your spaces.
Sunday: Shop, then load the spaces in the order of the plan: heavy items low, light items high, long-life items under the bed and in the hidden gaps, everyday staples in the cupboards. Label everything and write the inventory card.
After that, stop thinking about it as a project. Add two or three items from the plan to each regular shop until you reach 14 days. Buying a little at a time spreads the cost and gives you time to find out what you actually eat.
Storage bins and food containers can help where they solve a real space problem, such as flat under-bed boxes that fit a low frame or stackable containers that replace bulky bags. They are optional, and you may already own something that works. Where this site recommends such items, it may earn a commission if you buy through the link, and it only recommends ones that genuinely save space.
Once the food is sorted, the guide on which emergency supplies earn their space covers the non-food gear, with the same space-first approach.