
Water is the hardest supply to store in a small apartment because it is heavy and takes up a lot of room. A gallon weighs about 8.3 pounds (3.8 litres weighs just under 4 kilograms), and the usual guideline is one gallon per person per day for drinking and basic hygiene. Rice and canned beans can go in an odd corner. Water needs a flat, stable spot that can take the weight, and it should not sit near anything that would be damaged by a leak.
This guide covers how to store emergency water in a small apartment when you have no spare closet. It goes through the spaces most renters already have, the containers that are safe for drinking water, and how to label and rotate it. Food and general gear are covered elsewhere on the site, so this page stays with water.
Why water is the hardest thing to store in a small home
Three things make water awkward, and each one affects where you can put it.
- Weight. A 5-gallon container holds about 40 pounds of water. That rules out high shelves and flimsy furniture, and it makes some containers hard to move without help.
- Shape. Rigid jugs and bottles are bulky and do not compress. Empty space between round bottles is wasted unless you stack them in a box or crate.
- Leaks. A cracked cap or a split seam puts water on your floor, and in a building that means your neighbour’s ceiling too. Anything you store should be easy to inspect.
All of this points toward the same approach: several smaller containers spread across the apartment, kept low and flat. One big container is cheaper per gallon but harder to hide, lift and pour. Smaller containers fit into gaps that a large one never will.
Check how much you need before you buy a single container
Work out the number first, because it decides which of the spaces below you need.
The common guideline is one gallon per person per day. Many preparedness agencies recommend at least three days of water, and a larger supply is better if you can fit it. Your own needs may be higher if someone in your home is pregnant, ill, elderly, or has a pet, or if you live somewhere hot. Check your local emergency management office for the guidance that applies where you live.
Here is how the arithmetic works out:
- One person, three days: 3 gallons, roughly 25 pounds.
- Two people, three days: 6 gallons, roughly 50 pounds.
- Two people, two weeks: 28 gallons, roughly 230 pounds.
Start with the three-day figure for everyone in your home. It is small enough to fit in one or two hiding spots, and you can add to it later. If you are also building a longer food supply, the two-week pantry guide for a studio kitchen covers the shelf side of things, and you can plan the water on top of it.
Then count the free spaces you actually have: the floor under the bed, the gap behind the sofa, the bottom of a wardrobe, the cabinet under the sink. Add up how many gallons each can hold. If the total falls short, you know how many more spots you need to find before buying anything.
Containers that are safe for drinking water, and the ones to avoid
The container matters as much as the location. Water stored in the wrong plastic can pick up flavours or contaminants, and some containers are almost impossible to clean properly.
Good choices:
- Commercially bottled water in its original sealed bottles. This is the simplest option. The bottles are already food-safe, sealed, and carry a date. Cases stack neatly, and you can store them without opening them.
- Food-grade water containers sold for storage. Look for containers labelled as food grade or BPA-free, with a tight screw cap. Sizes from 1 to 7 gallons are common, and some are shaped to be stackable or to slide under a bed.
- Collapsible water bladders and bags. These are food-grade and fold flat when empty, so you can keep them in a drawer and fill them when you need to. They suit the bathtub (see below) and short-notice situations, though they are less convenient for long-term storage.
Avoid:
- Milk and juice jugs. The thin plastic breaks down over time, and residue from the drink is hard to wash out completely, which encourages bacteria to grow.
- Containers that previously held anything other than food or drink. Chemical residue can remain even after washing.
- Glass bottles you cannot secure. Glass is safe for water, but it breaks in an earthquake or a fall, and shards on the floor are a hazard in a small space.
- Thin, unmarked plastic you cannot identify. If you do not know what a container is made of or what it held, do not use it for drinking water.
If you refill your own containers from the tap, wash them with dish soap, rinse thoroughly, and fill them with clean drinking water. Close the cap tightly and keep the container out of direct sunlight and away from heat. Storing water next to petrol, paint thinners, or other chemicals is a bad idea even with a sealed cap, because some plastics let fumes pass through slowly.
Hiding water in furniture: under the bed, behind the sofa, inside the ottoman
Furniture you already own is the best place to put water, because nobody questions it. The goal is to keep water out of sight without making it hard to reach.
Under the bed
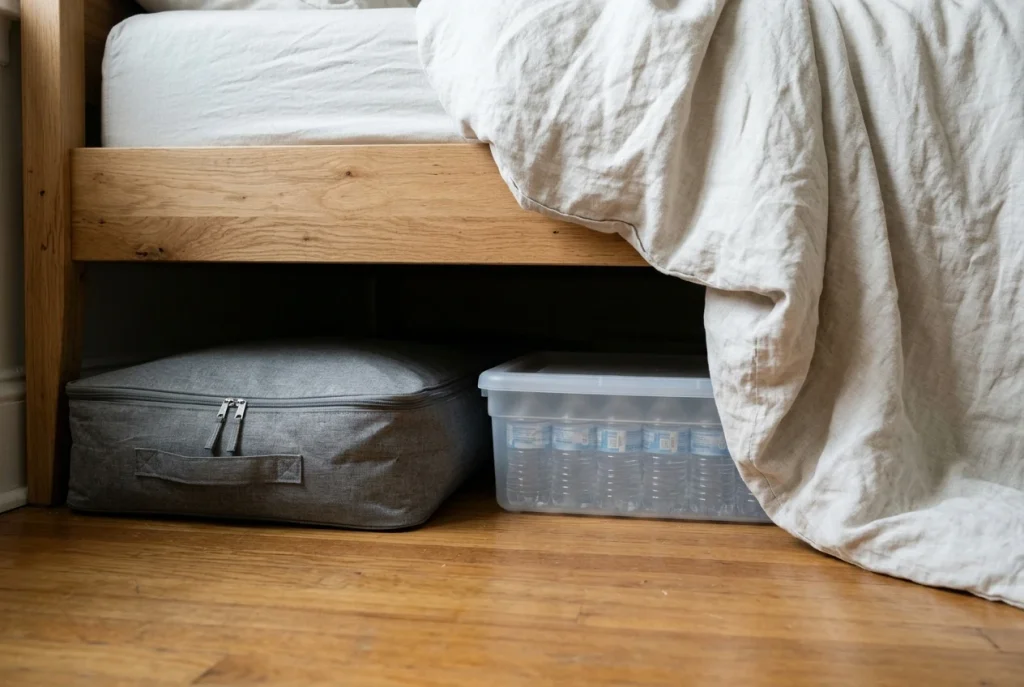
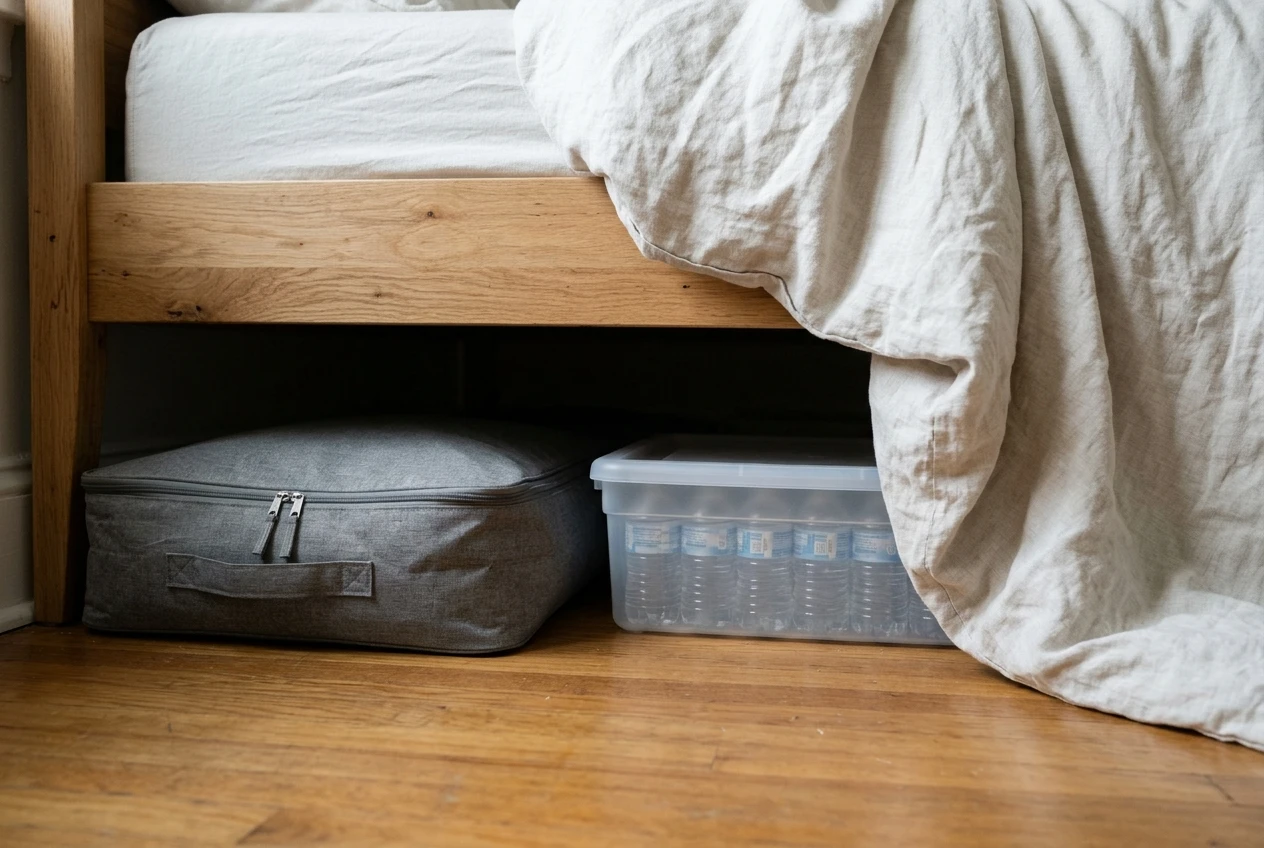
This is the biggest single space in most bedrooms. Flat, wide containers and cases of bottled water slide in easily. Measure the clearance first, since bed frames vary, and put the water in a shallow storage bin with a lid or a fabric under-bed bag so it looks like ordinary storage. If you have a divan or platform bed with drawers, line a drawer with a waterproof tray and fill it with bottled water. A floor-level spot also spreads the weight well, which suits upper-floor apartments.
Behind the sofa
A gap of even 8 to 10 inches between the sofa and the wall holds a row of slim bottles or a few narrow containers. Pull the sofa out and test the space before committing, and keep the water on a tray or mat so a leak does not reach the floor. If the sofa sits against a window, avoid direct sunlight on the containers.
Inside an ottoman or storage bench
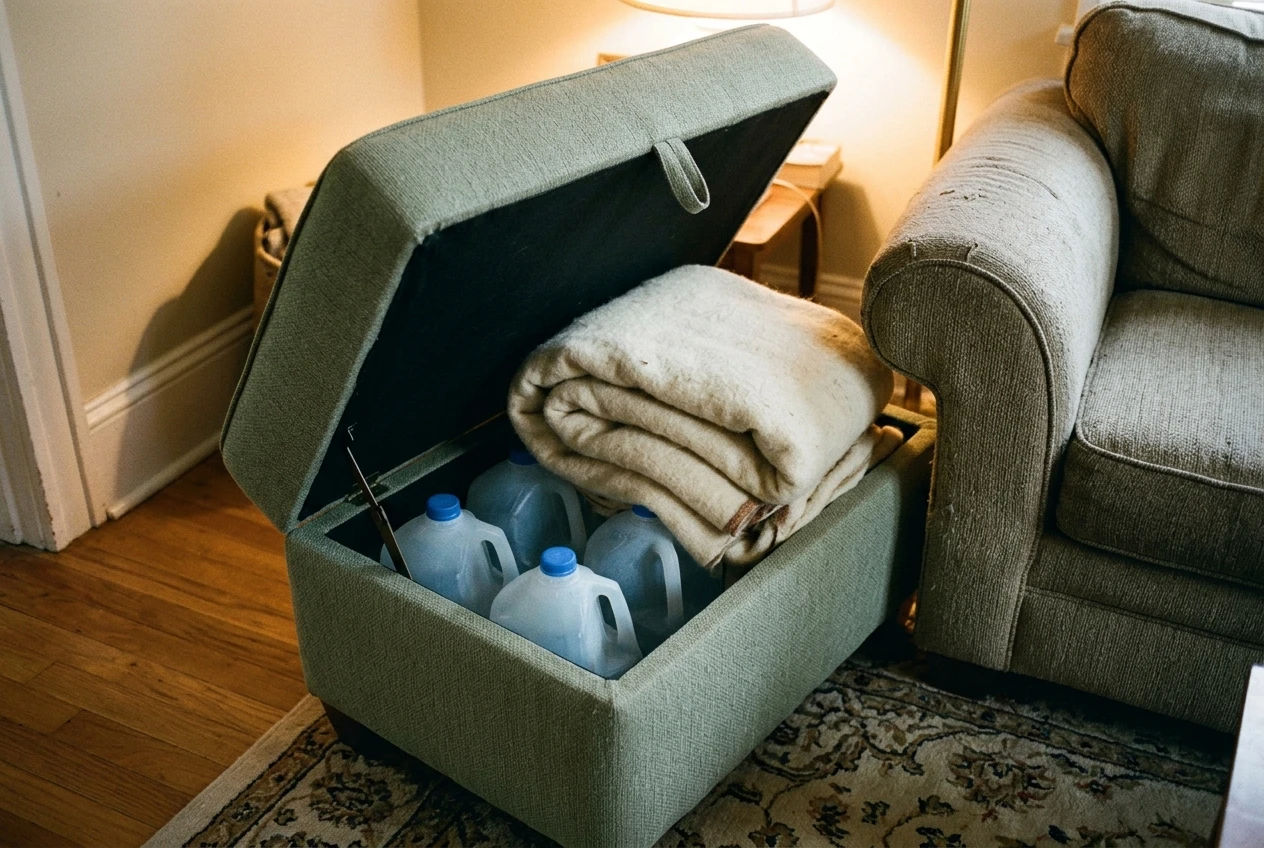
A lidded ottoman or bench can hold several gallons of bottled water at coffee-table height. Check the maker’s weight rating before filling it, because water adds up quickly and a cheap frame can sag or split. A good approach is to put the heaviest containers at the bottom, wedge them in with a folded blanket so they do not shift, and leave room for the lid to close without pressure on the bottles. The blanket also gives a little protection if a cap fails.
For heavier stacks, avoid anything that is not floor-supported. A bench with legs and a thin plywood base is a poor choice for 40 pounds. Use furniture with a solid frame and a base that rests on the floor.
Closets, cabinets and the space under the sink
If you have any closet or cabinet space at all, the floor of it is the best place for water, since low storage is stable and easy to reach.
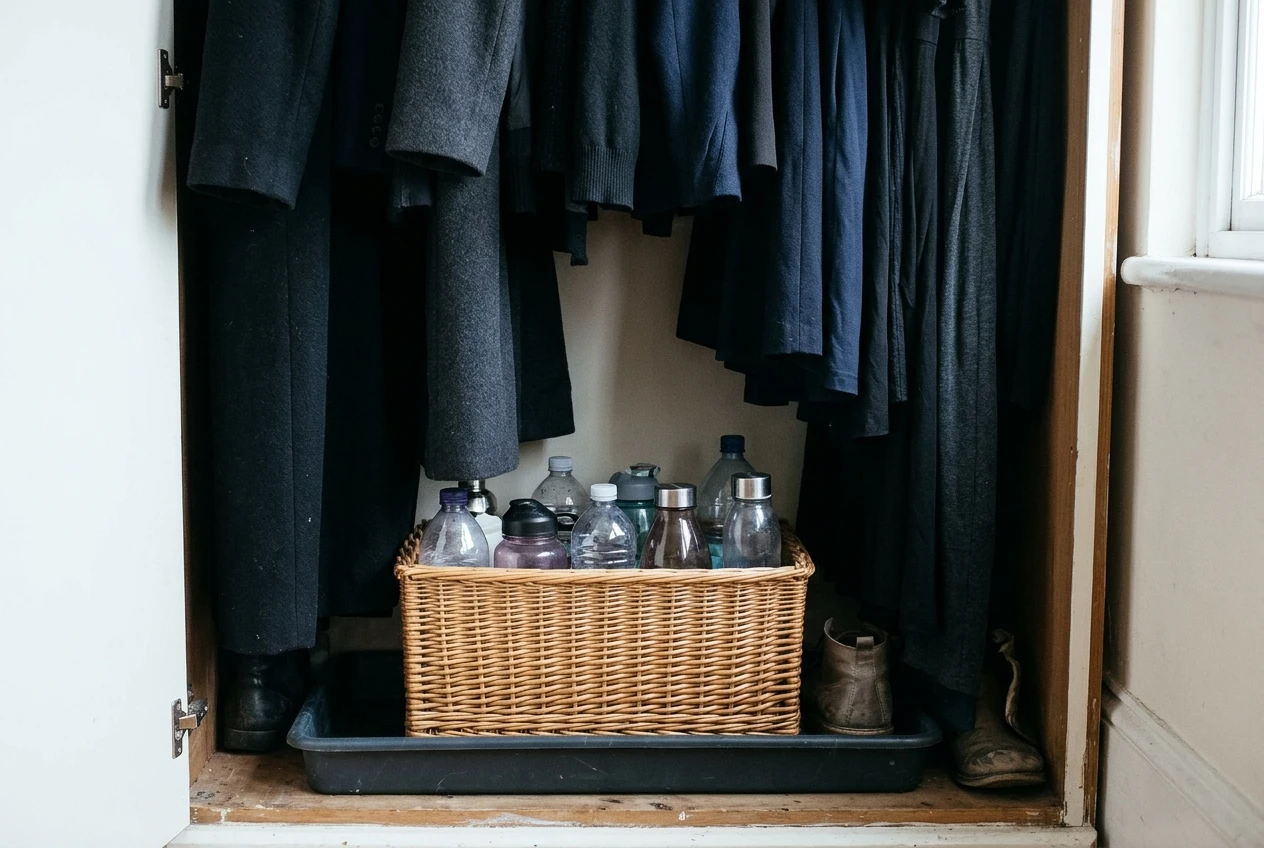
- Bottom of a wardrobe. Line up bottles or place a few small containers in a bin under hanging clothes. The space below long coats and dresses is often wasted, and the water sits behind the garments.
- Under-sink cabinets. These work well for storing a couple of gallons, but only if the pipes are in good condition. Check regularly for drips from the plumbing, and keep the water on a tray, since a slow leak from a trap or hose can damage both the water containers and the cabinet floor. The dampness also makes labels peel.
- Entryway or shoe cabinet. A low cabinet by the door holds a few bottles and has the advantage that you can grab water on your way out, in case you need to leave.
- Bottom shelf of a bookcase or media unit. Fit slim containers behind a row of storage boxes or baskets so the shelf looks tidy.
Avoid putting water above head height. A falling 5-gallon container can injure you and flood the room. Keep everything at or below waist level.
Using the bathtub: a backup, not a plan
A full bathtub can hold more than a hundred gallons, so it is tempting to treat it as your storage. It works as a backup for water you will use for flushing toilets, washing, and cleaning, but it is a poor primary supply for drinking.
- Cleanliness. Unless you scrub and sanitise the tub first, the water will not be fit to drink.
- Leaks. Many stoppers do not hold water for long, so the level drops without warning.
- Timing. You only get this water if you fill the tub before the supply stops, which means you need advance warning. A storm forecast gives you that; a burst main or an earthquake does not.
- Safety. An open tub of water is a drowning hazard for small children and pets.
If you want to use it, a bathtub liner or a large food-grade water bladder keeps the water cleaner and holds it better than a bare tub. Fill it only when you have notice that supply may be interrupted, and use the water for flushing and washing first so that your stored drinking water lasts longer. Treat it as an extra layer. The bottled and containerised water in your furniture is the plan.
Label, date and rotate without making it a chore
Stored water needs a minimum of upkeep, and the simplest system is the one you will actually follow.
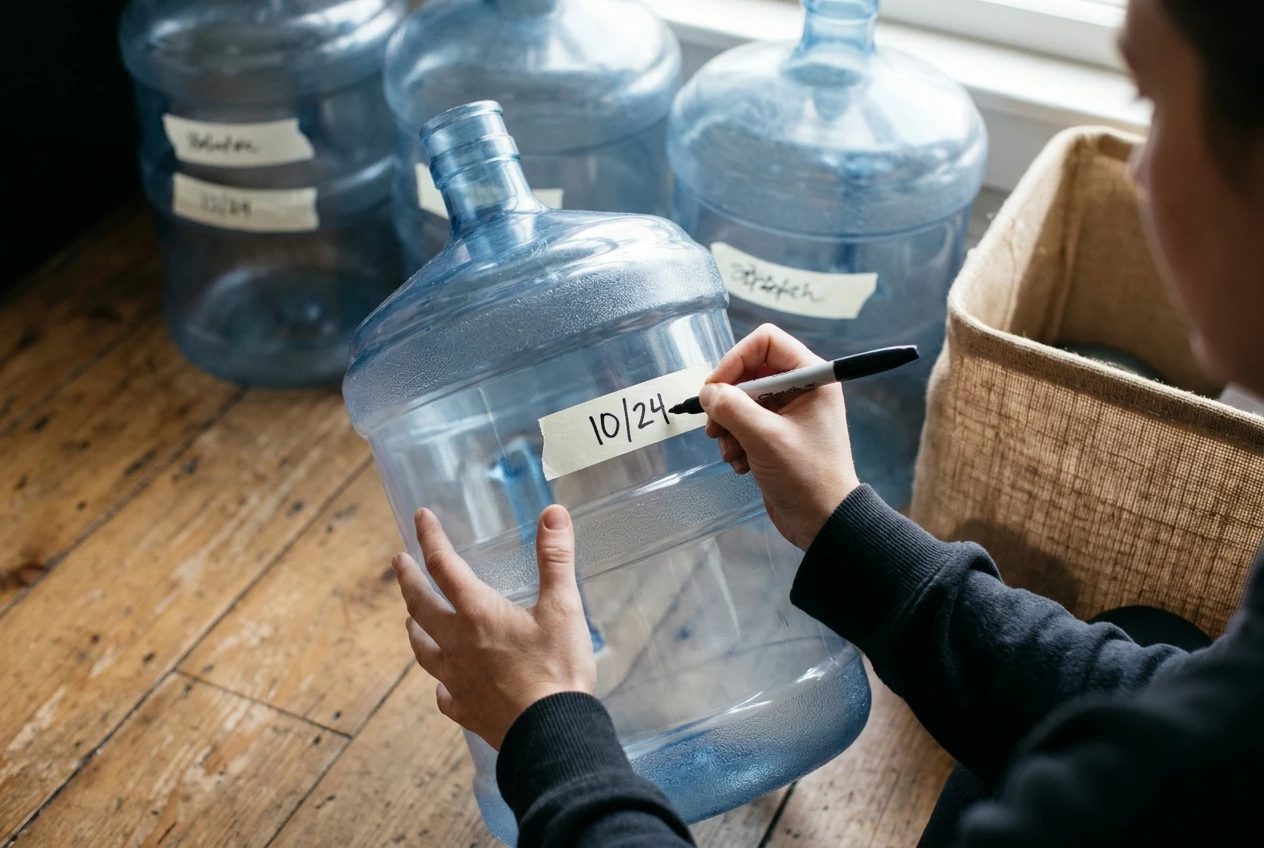
- Date every container when you fill it. Use a waterproof marker or a strip of masking tape on the cap or side. For commercially bottled water, use the date printed on the bottle.
- Mark the rotation date. A commonly recommended interval for water you fill yourself is every six months. Write the replacement month on the label.
- Pick two fixed dates a year. Tie rotation to something you already do, such as the days the clocks change or your birthday. Check that day, empty the oldest containers, and refill them.
- Use the old water. Water from the oldest containers is fine for plants, cleaning, or washing up, so nothing is wasted.
- Inspect while you rotate. Look at each cap, seam and base for cracks, cloudiness, or a smell. Replace any container that looks damaged.
To keep the look tidy, use matching bins or fabric baskets, put the labels on the inside facing you, and group the water in one or two places so you only have two spots to check. A short list on your phone with where each container is and when it needs changing takes a minute to write and saves time later. Keep the containers away from radiators, and out of rooms that get very hot or freeze.
Pairing your stored water with a compact filter or purification option
Stored water covers the first few days. A filter or purification method extends that, because it lets you treat other water you find if your supply runs low. It is also small, which suits an apartment.
- Compact water filters. Straw-style and squeeze filters take up little more room than a paperback. Check the manufacturer’s information on what the filter removes, since many remove bacteria and protozoa but not all viruses, and some do nothing for chemical contamination.
- Purification tablets. These are light and keep for a long time, and they fit in a drawer or a go-bag. Follow the instructions on the packaging for dosage and contact time.
- Boiling. If you still have power or a camping stove, boiling is a reliable way to treat water, as long as you have a pot and fuel and can use them safely indoors or on a balcony where permitted. Local health authorities publish guidance on how long to boil.
Whichever you choose, keep it with your water, not in a separate room, so a single reach gets you everything. A filter does not replace storing water, though, because it needs a source to work from and none may be available in a city emergency. Think of it as a way to stretch what you have.
Where to go next
Water is one part of a bigger plan, and every item you add competes for the same limited space. The post on emergency supplies that earn their space in a small apartment helps you decide what else deserves a spot next to your water.
If you are ready to buy, browse the compact water containers and filters this site recommends. Some of the links on this site are affiliate links, which means we may earn a commission if you purchase through them, at no extra cost to you. We only point to gear that suits small-space storage, and that commission helps keep the site running.